How to Pack A Healthy Lunch
It’s back to school season and time for our calendars to start filling up with extracurricular activities, meetings, and so on. When life feels so busy it can be hard to squeeze in time to pack or even think about what to bring for lunch.
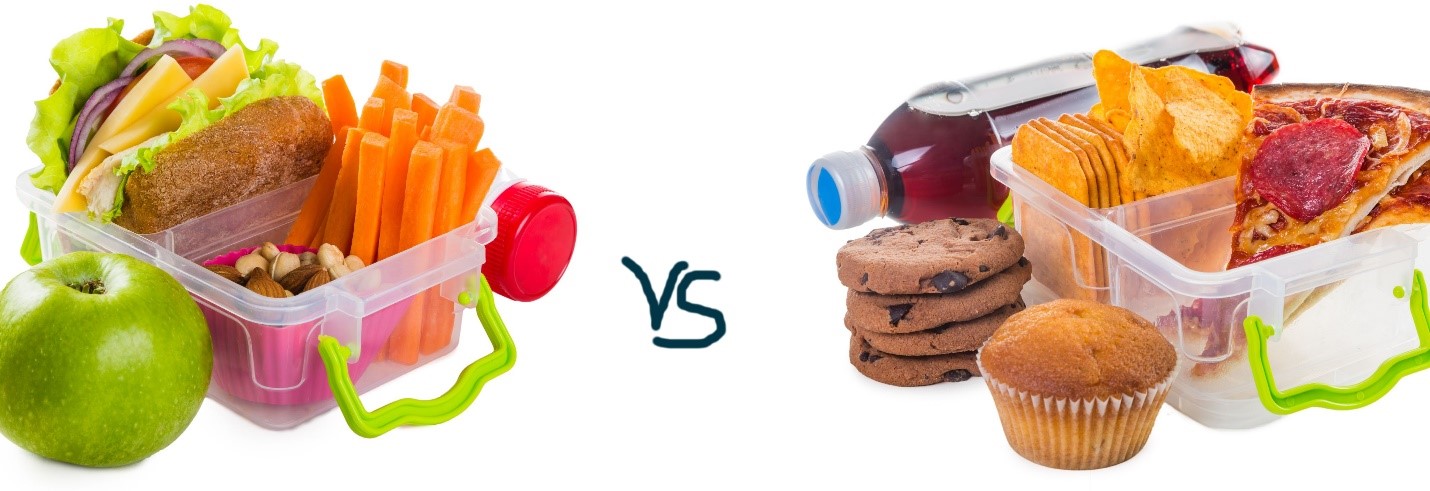
For many people, the temptation and ease of fast food or those plastic, processed lunch kits with cheese, meat, and crackers can feel like a win for saving time but they are not the nutritious, balanced lunch we all know we should strive for. Other people may decide that they do not have the time or energy for lunch and skip it or just have one small item to help tide them over but this strategy is not the best for controlling hunger, filling in nutrition gaps, or keeping energy levels high throughout those busy days.
So, what are we supposed to do to help beat this lunchtime dilemma? Read on for our best dietitian tips and tricks to be prepared with a healthy lunch.
1. Include at Least 3-4 Food Groups
A well-balanced meal will include all of the macronutrients – carbs, protein, and fat. The right combination of macronutrients not only will help you get the most nutrition out of your meal but also will help balance blood sugars and help stave off hunger until the next meal. Don’t forget your fruits and veggies too! A healthy lunch will include 3-4 different food groups including grains, healthy fats, protein, dairy, fruits, and vegetables.
If your meal contains mostly fat with little fiber, you will likely eat more calories and take longer to feel full. If your lunch has mostly carbohydrates and not a balance of the other macronutrients, you will likely feel full but it won’t last long. By having a mixture of protein, healthy fat, and fiber you will have the best energy boost, feel fuller on fewer calories, and bust those afternoon sugar cravings.
2. Keep it Interesting
Sure, a PBJ may be an easy addition to a lunch box but having that on repeat will get old fast. Not only that, our bodies crave variety! That variety helps make sure we are getting a healthy mix of vitamins, minerals, and antioxidants to be our strongest, most nourished selves. Each week (or month, if that’s all you can handle) come up with a list of 3-5 different lunch options to have on hand. This will save time with not having to come up with new ideas with your already maxed-out brain. Set aside 5-10 minutes a week (or month) to jot ideas and then put them on the menu. Some ideas to get you started:
- A salad with bagged lettuce, light tuna or leftover grilled chicken, avocado, beans, a few cheese crisps, and dressing on the side. Include fruit and you are set!
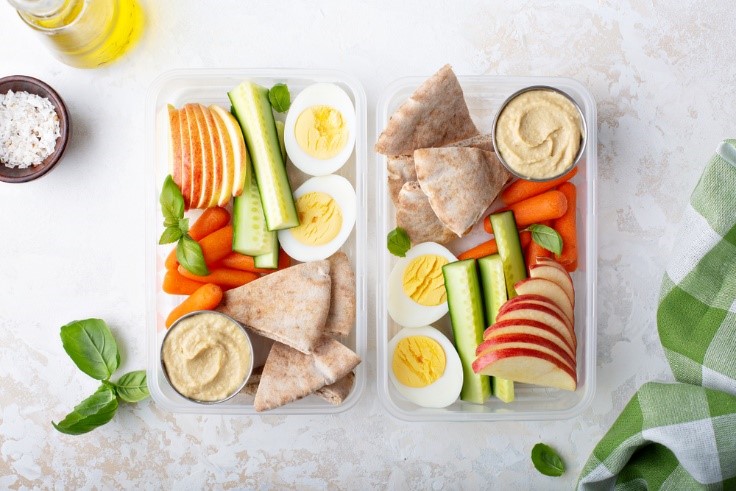
- Bento box with hummus, whole grain crackers, a
hard-boiled egg, and fresh-cut veggie strips. Throw a fat-free yogurt in your
lunchbox and you have a well-rounded meal that took less than 5 minutes.
- Take a high-fiber tortilla and load it with strips of pepper & onion, black beans, and a piece of Monterey cheese, roll it up and throw in a container of salsa. Serve with a clementine and a piece of dark chocolate for dessert.
- Pierce a potato with a fork and microwave with a wet paper towel wrapped around it until soft. Take some leftover broccoli and ¼ of cheddar cheese for a quick loaded potato. Top with 2 tbsp. of plain Greek yogurt and serve with a small side salad or Cole slaw. I also love this topped with leftover shredded BBQ chicken.
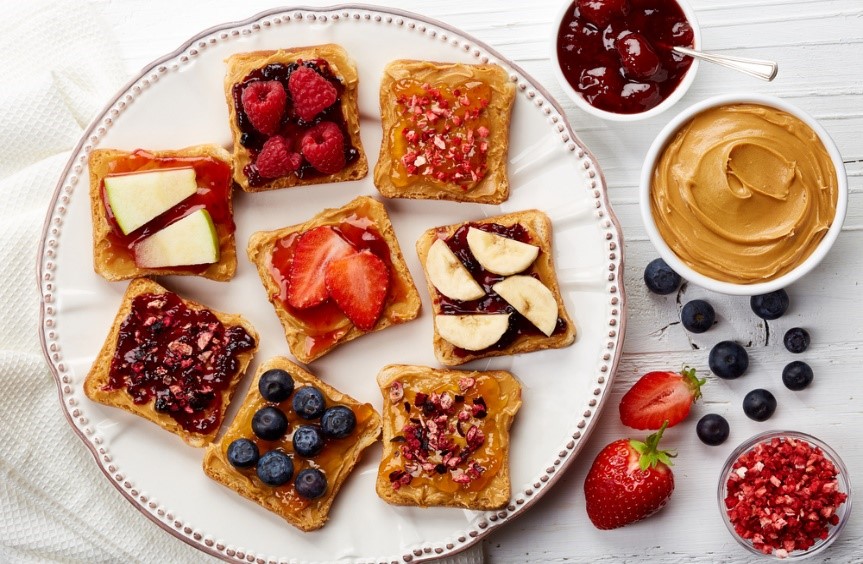
- A classic nut butter sandwich. If you want to
skip the sugary jelly, a nice alternative is to serve it with mashed fruit or
banana slices. I would pack this on the side to avoid a mushy sandwich come
lunchtime. To balance out this meal and keep it simple, throw in a string cheese
or Babybel cheese wedge and some carrot sticks.
This tip is especially important for kids! No parent likes to see their child come home with half-eaten lunches. The culprit could be that your kid is a social butterfly but it also may be that they are bored with what you’re sending them. Mixing up their lunches with new items will make them excited to see what’s inside and encourage them to try it all!
3. Aim For a Rainbow of Colors
The saying goes, “Eat the Rainbow!” However, what does this actually mean and why? Eating the rainbow involves eating fruits and vegetables of different colors every day. Plants contain different pigments that give them their rich colors as well as their distinctive flavors and aromas. Different-colored plants are linked to higher levels of specific nutrients. These nutrients have been shown to have significant health benefits that have been shown to help you live longer by protecting us from chronic diseases, including cardiovascular disease and certain types of cancers.
According to the American Cancer Society, a minimum of 2 ½ to 3 cups per day of vegetables and 1 ½ to 2 cups of fruit each day are recommended to provide health benefits. In addition, the US Dietary Guidelines recommend consuming at least two ½ cups of vegetables and 2 cups of fruit, based on a 2,000-calorie diet. At Seattle Sutton's Healthy Eating, we include a variety of fresh fruits and veggies every day.
There are various health benefits associated with each different color, however, no one color is better than another. Remember eating a variety of different colored fruits and vegetables is key! Just do not forget to eat the colorful skin, which is the best source of phytonutrients.
To make sure you are Eating the Rainbow, make sure your grocery cart is full of different colored fruits and veggies, and provide at least two servings of different colored fruit and/or veggies at every meal throughout the day.
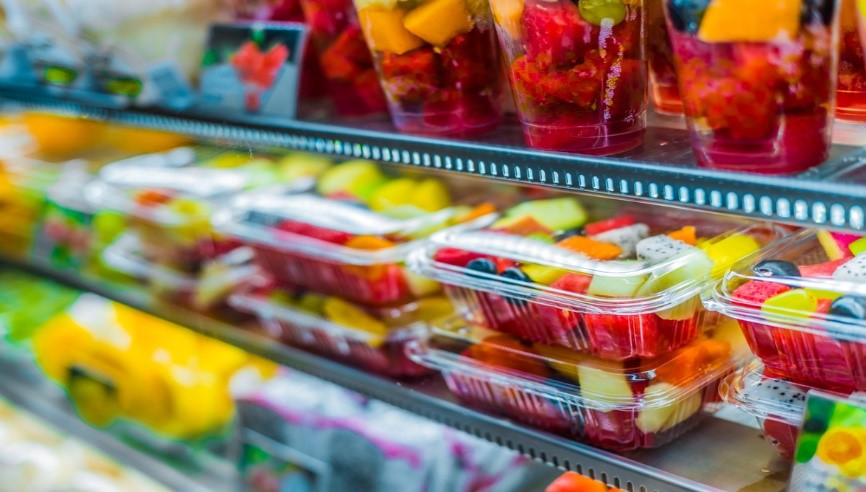
A good rule of thumb when keeping it fresh is to choose your foods to resemble how they are found in nature. Some grocery stores offer prepackaged, already washed fruits and veggies for convenience which can be helpful. If watching your wallet, you can always mimic what you see in the store and do it yourself! Frozen fruits and veggies are considered the same in nutritional benefits as fresh, which can help for easy prep and less food waste if you are eating for one or two. Milk, no sodium canned vegetables, fruit in their own juices, or whole grain breads have been through a little processing, however, the nutritional benefits also remain the same. Remember when we talked about the processed lunch kits with cheese, meat, and crackers at the beginning of this blog, well they can provide 30% of your days’ worth of sodium in one box, not to mention high in saturated fat, low in fiber and low in antioxidants (colors).
5.Take a dip
Who doesn’t love to dip food? Generally, I give this suggestion to kids, but honestly, I love dipping guacamole, hummus, and yogurt as much as my kids do! Provide the option to dip away and make lunch fun. Pack veggies with ranch dressing, whole grain chips with salsa, sliced apples with fat-free yogurt, or pita bread with hummus.
6. If Packing for Kids, Get Them Involved
Do it their way and give kids a choice. If they get to decide what to pack, they are more likely to eat it. Present a selection of parent-approved snacks, sandwich options, fruits, veggies, and other treats. Ask “Would you like an apple or an orange in your lunch box?” Or maybe, “Do you want carrots or celery today?” This works when doing your shopping too. Give them a choice to pick out a new flavor of yogurt or a new whole grain snack bar.
7. Celebrate Special Days
Make your lunches fun and lighthearted by planning them around special holidays or including a special reminder for yourself. Do you love motivational quotes? Buy a pad of pretty paper and write a motivational quote for each day to throw into your lunch box. Alternatively, find premade ones so you can be surprised at lunchtime. Plan special meals or sides that go along with holidays. For example, pack a piece of dark chocolate for Valentine’s Day or a slice of homemade Irish Soda bread for St. Patrick’s Day.
Another way to celebrate is to cut sandwiches and fruits into fun shapes. This does not have to be Pinterest-worthy, you can keep it simple. Purchase a fun cookie cutter and if your kid doesn’t like crust instead of just cutting it off, grab the cookie cutter and cut it into a heart or star.
Now you’ve got the nutrition down on “what” to pack in your healthy lunch, but now you need to know “how” to make it stay fresh, stay safe and, secure! After you've planned and cooked your healthy lunch, it is time to choose the best container to get it to its final destination without becoming soggy, not staying hot or cold, becoming stale or spilling. It is hard to find a one-size-fits-all, especially when there are so many different types of lunches that could be made. Bento boxes, plastic sandwich bags, and the good old-fashioned brown paper bag can all be a perfect choice depending on your lunch, however, I found that the people at The Spruce Eats tested and approved different lunch containers and provided their top pics for those meals needing temperature control, portion control and easy transportation that is spill proof. There is also a great web page called Momtastic that has a great list of 30 Fun and Functional Lunch Box accessories. As a Dietitian, I would have to say that when packing foods the most important thing to remember is to keep cold foods cold and hot foods hot for your food safety.
Now you are ready to enjoy your healthy packed lunch!







 Weight Loss
 Health & Wellness
 Diabetes
 Heart Health
 Motherhood & Family
 Dietary Restriction
 Other Health Conditions
 About SSHE

